Blog
How to bake THE perfect cupcake… Fair Cake style!
Jul
In June 2012, I made my way down to London for my first every cupcake class at Fair Cake!
The journey was just hideous (but that is probably because I adopted the, “Oh! There’s a train, let’s get on it and hope for the best” attitude. Needless to say, I got lost, very lost. After a tearful phone call to the Fair Cake office and a taxi ride across London, I arrived at the workshop!
As I got myself so lost en route, I missed the baking demonstration at the beginning of the class. But as I have now worked here for 18 months, I have more than made up for lost time and have pretty much perfected the art of cupcake baking.
You can find our foolproof cupcake recipe here, but I thought I would run you through THE best way possible to get, quite simply, an AWESOME batch of cupcakes every time.
Ingredients:
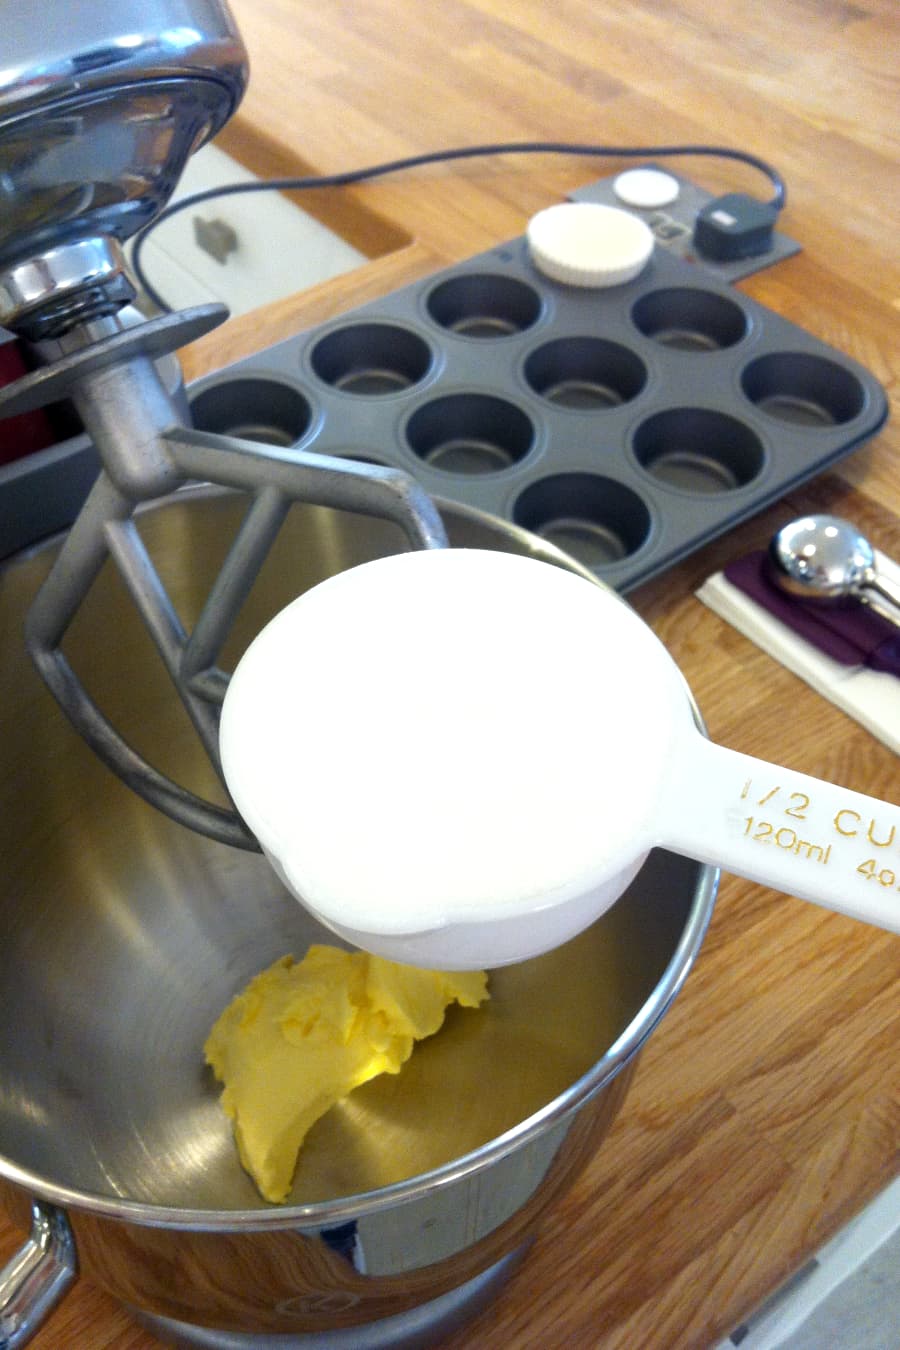
100gm Stork (keep an eye out for our Stork vs butter blog post)
1 half cup of caster sugar
3 medium free range eggs (always use free range!!)
1 teaspoon Neilson Massey Vanilla extract
1 cup of self raising flour
1 teaspoon baking powder
Method: This is a very detailed method description, you will need a cup of tea to get through all the details.
Because we bake so many cupcakes for our classes (literally thousands of the things!), we try and save as much time as possible. This is why we bake with cup measures instead of weight. Not having to set and reset scales, change the batteries, take out a pinch of sugar, put more back in again, actually turn the scales off instead of resetting to zero and starting again , saves so much time!
Our recipe works on the basis of one of everything (apart from eggs, but every rule has an exception, right?). So if you are doubling up the batter, just do two of everything rather than adding up how many grams. For eggs, we use 500ml of eggs for every 48 cupcakes. Just keep adding eggs to a measuring jug until you reach 500ml. Simples.
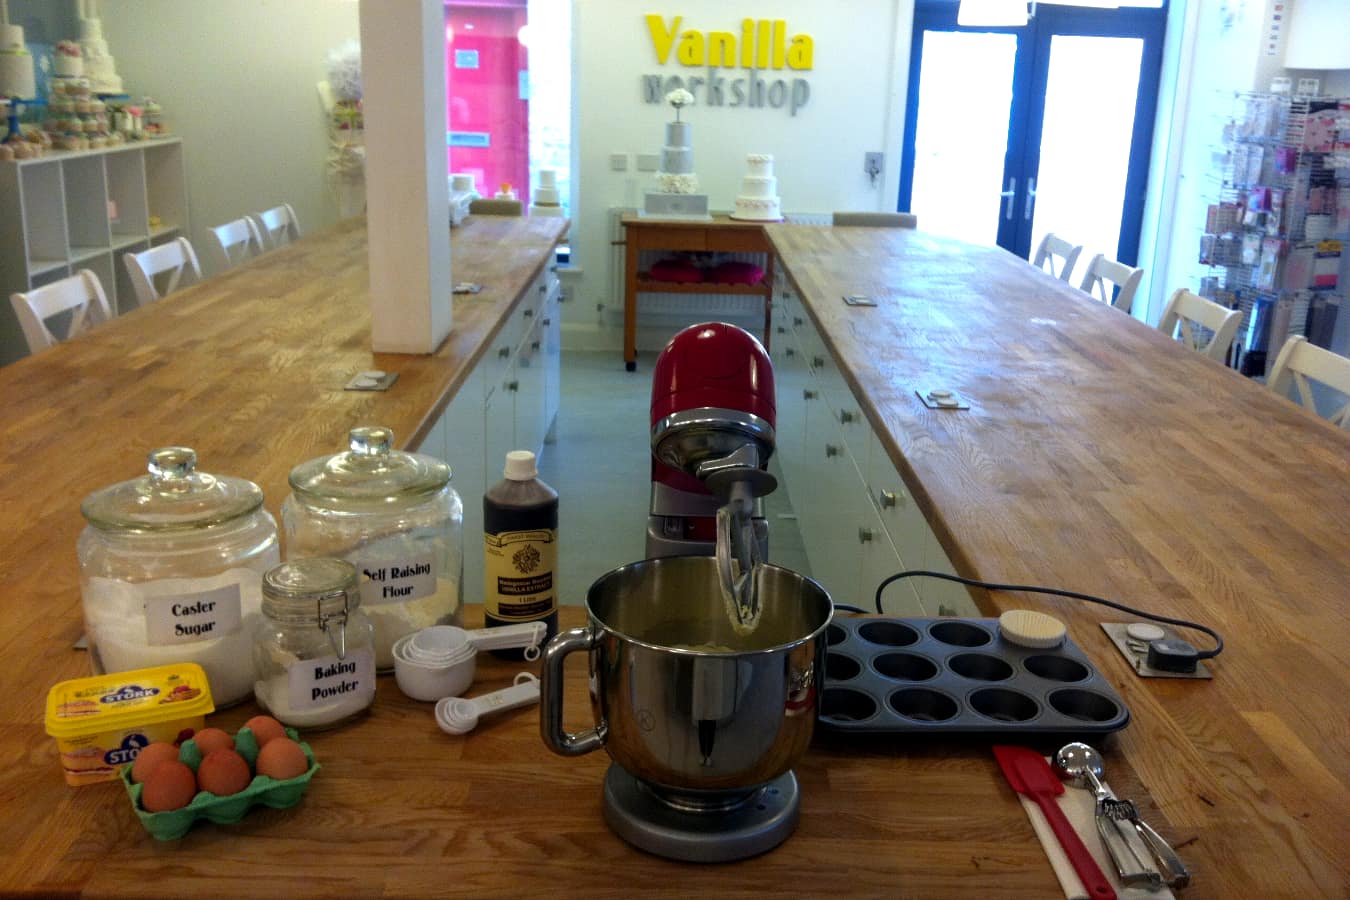
We keep all of our dry ingredients in MASSIVE jars so we don’t have to fiddle around with silly paper packets. This way, we never get a split bag of self raising at the back of the cupboard.
Always bake with fresh ingredients. Nobody wants to chisel off a chunk of caster sugar and spend hours sifting flour.
Baking essentials
Use an electric stand or hand mixer. I really wouldn’t recommend the wooden spoon and bowl technique, good for the upper arms but a real nightmare for serious baking. Mix together your stork and caster sugar (known as the creaming method). You want to beat at full speed for a good five minutes or so, until the fat and sugar is pale and fluffy.
Every time you stop your mixer, it is really important to scrape around your bowl with a flexible spatula so you do not leave any ingredients lurking up the side of the bowl.

At this point, we add all of our eggs, all at the same time.

I know, I know, this probably goes against everything you’ve ever read about the science of baking and the dreaded curdling of ingredients. Seriously, don’t worry about it! Our cupcakes always turn out perfectly. We find that as long as the batter isn’t curdled or split as it goes into the oven, you’ll be fine! Also add your vanilla extract at this stage (all of the wet ingredients together).
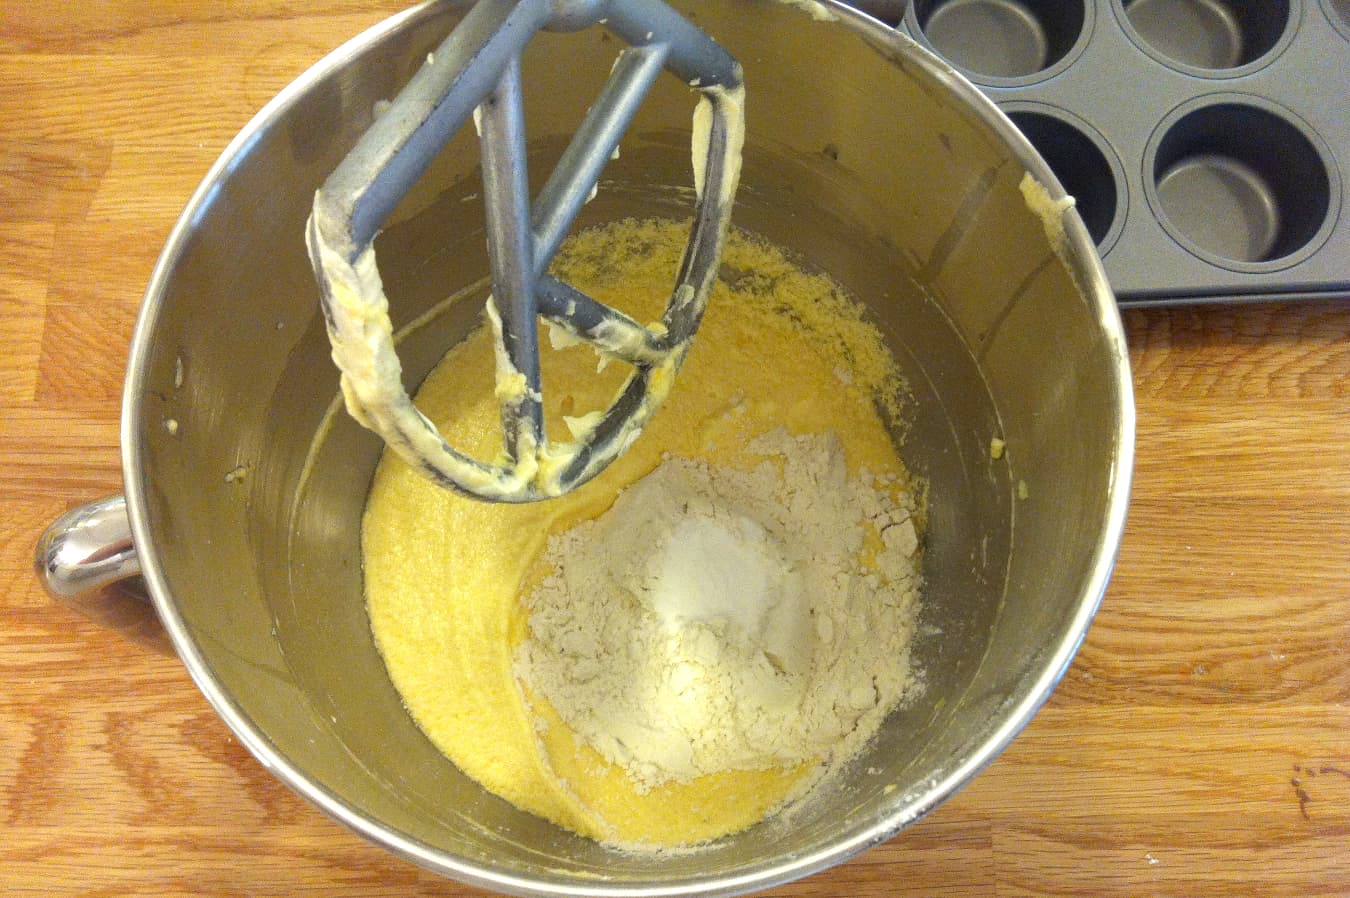
Next up is all of the dry ingredients (1 cup of self raising flour and 1 teaspoon of baking powder)
Drop your cup of flour straight into the bowl and follow with your baking powder (try and put the baking powder straight onto the flour rather than the wet mix)
Mix your batter on a high speed for a couple of minutes until you have something that resembles uncooked scrambled eggs.
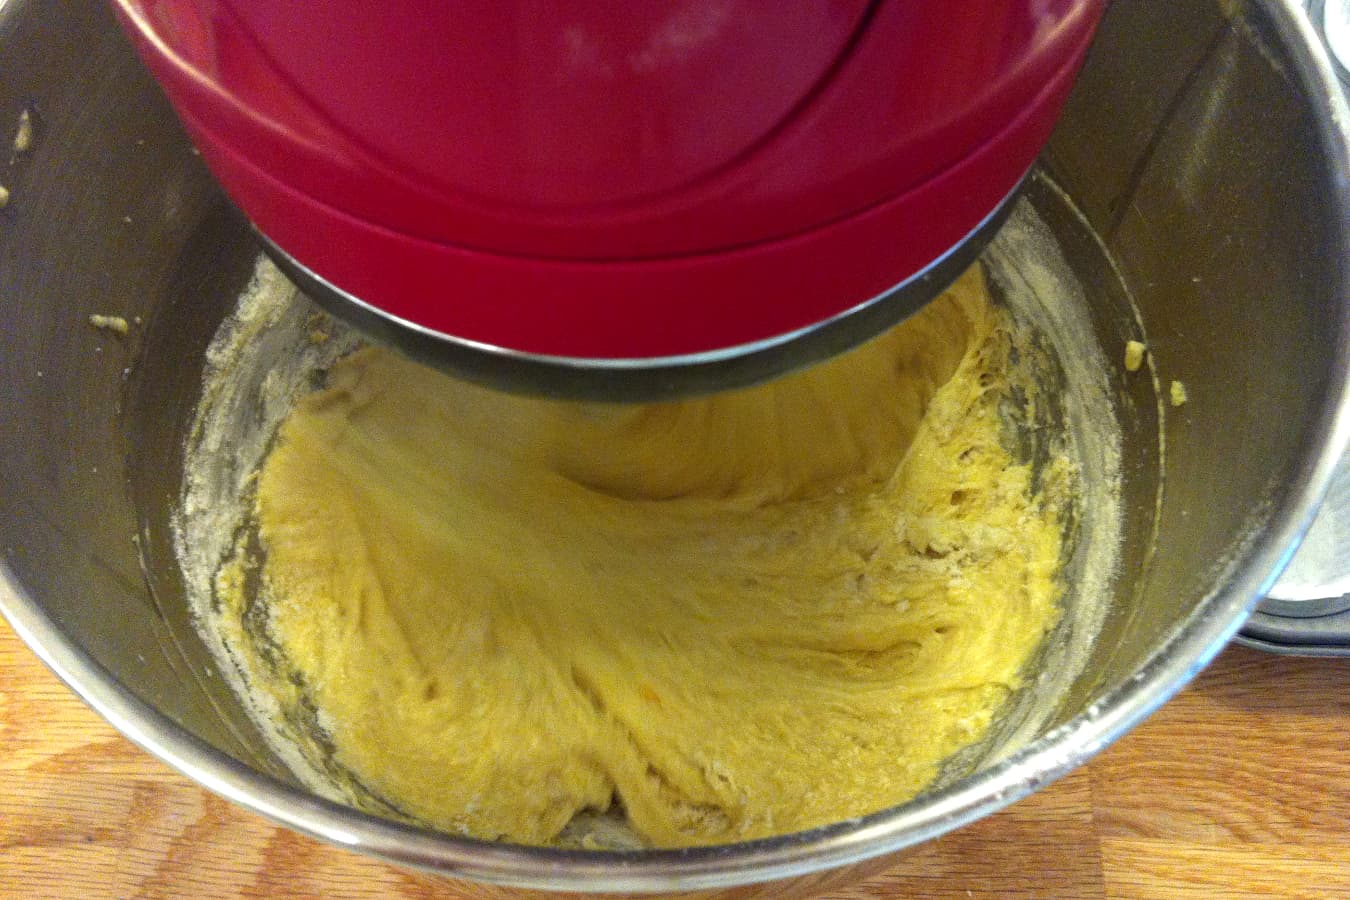
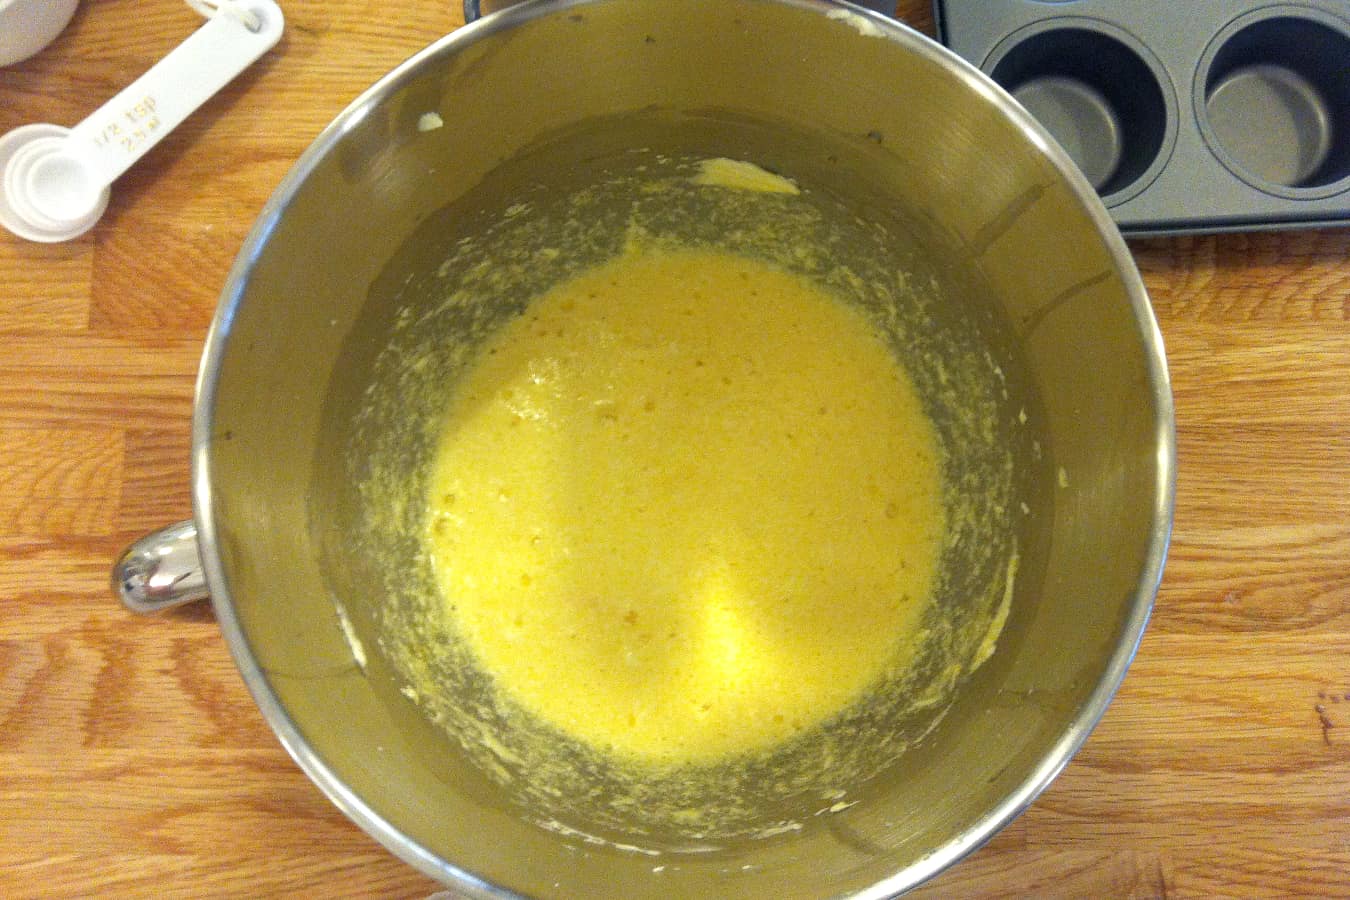
Stop your mixer and scrape the bowl once more.This is the stage where you can either really over mix cupcakes and have something that resembles chewy bread rather than a soft sponge, or under mix and have buttery pockets and the occasional mouthful of pure flour (this isn’t pleasant!) You need to mix your batter on a slow speed for no longer than a minute. If after this time it does not look completely mixed together, finish off by hand until you have a smooth batter with no lumps! This is what it looks like:
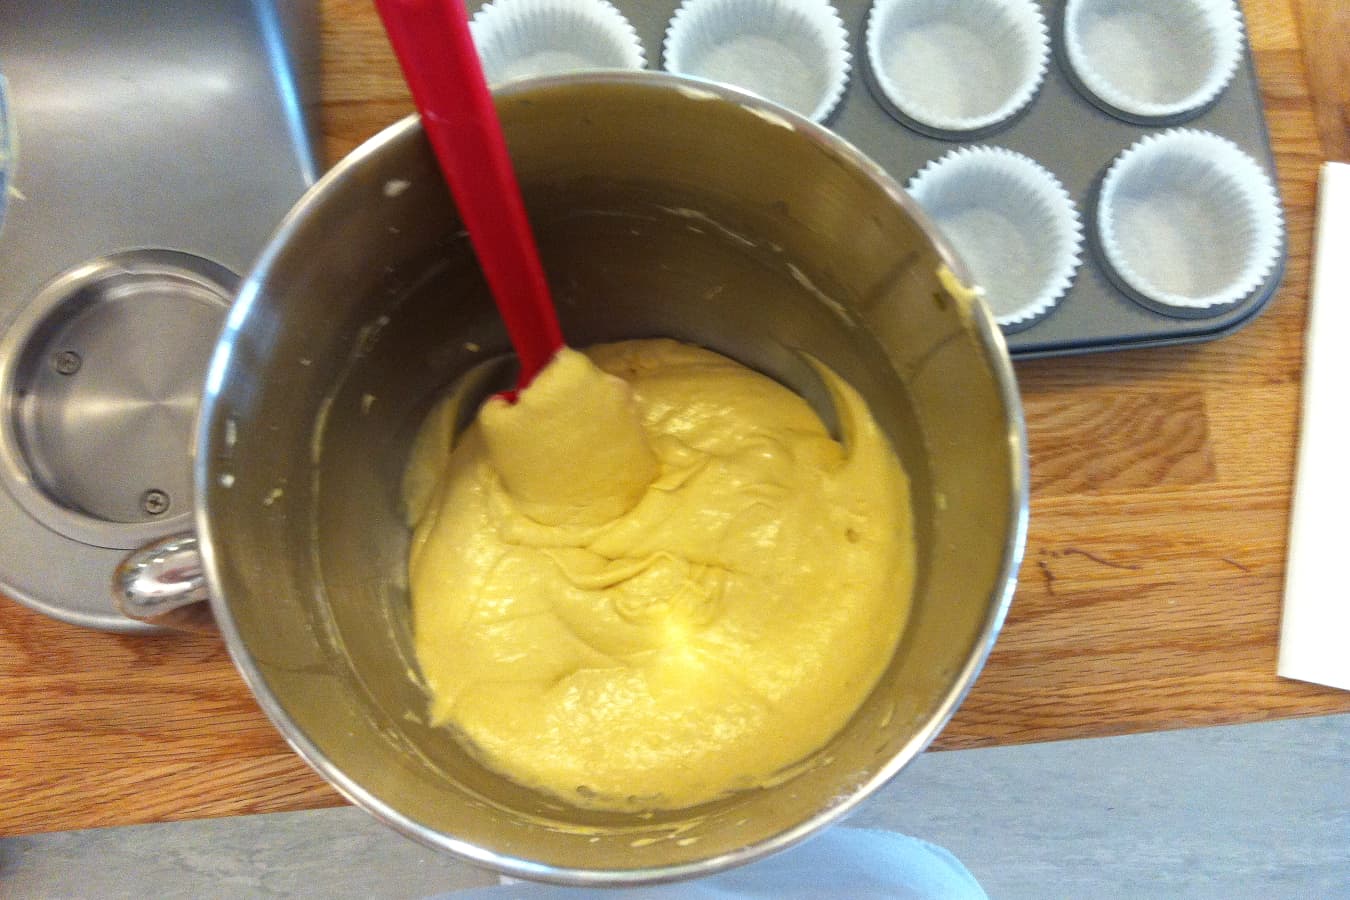
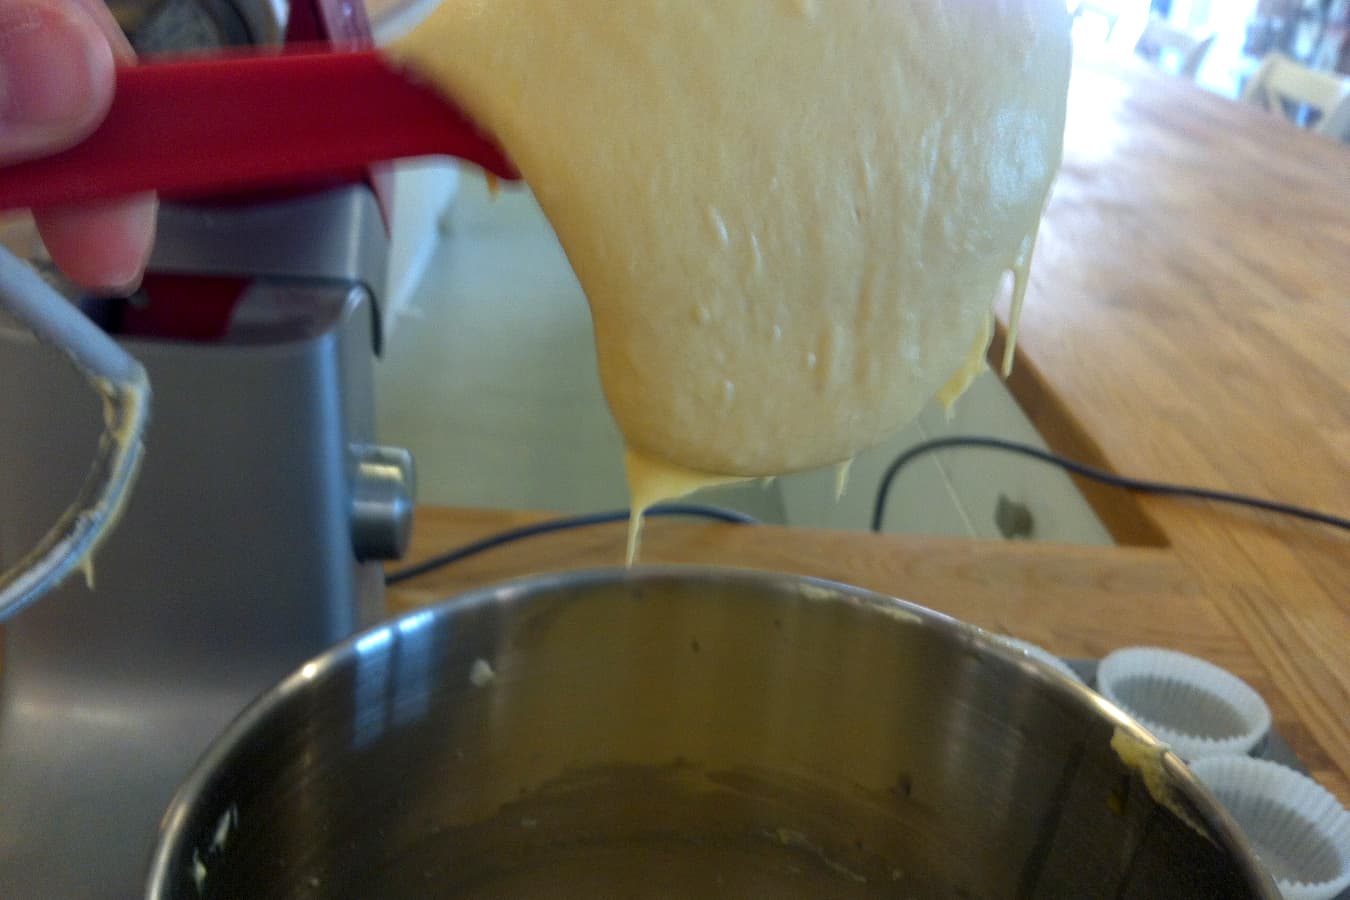
This is the consistency of batter that you need – for want of a better word, it “plops”.
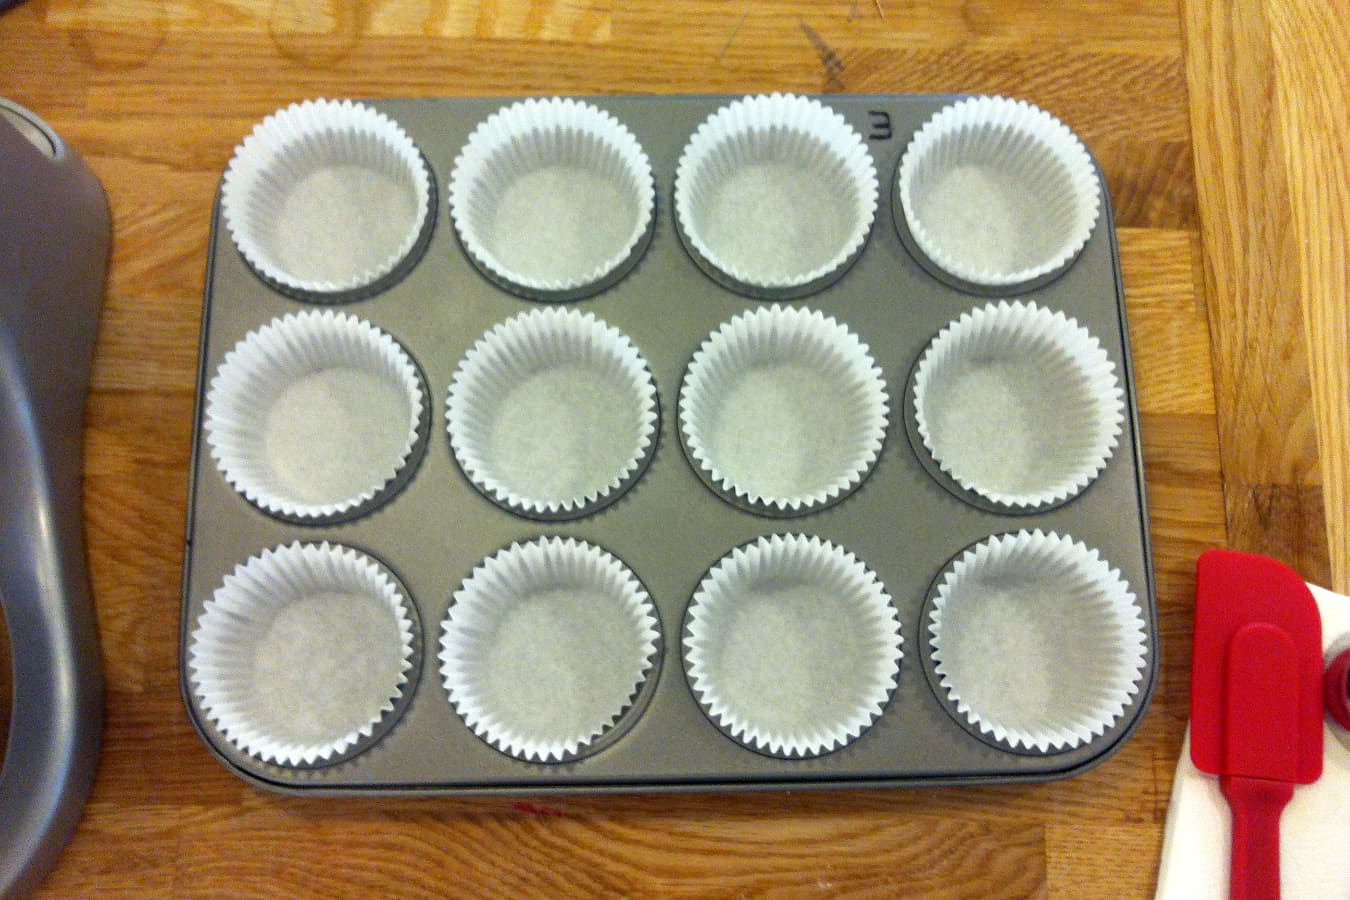
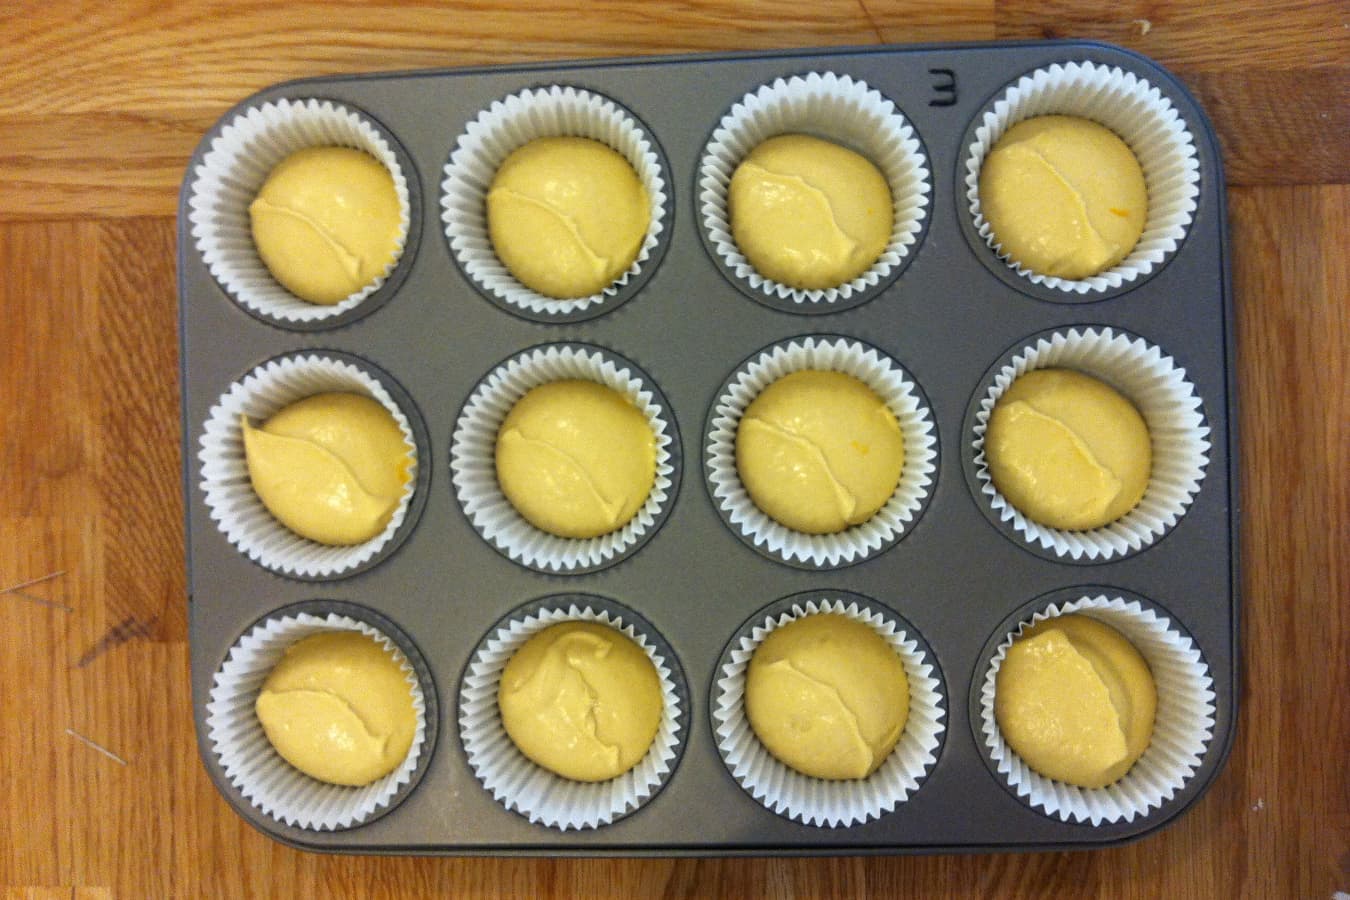
Line a muffin tray with muffin cases. For the record, these are 5cm base cases, you can get these from our website.
Now here is THE best tip I can give you when filling your cases – use icecream scoops! We always scoop batter for our cupcakes using an ice cream scoop which you can buy here. Remember what we said about saving time? How many hours have we all wasted standing over the scales with two teaspoons agonising over how much batter needs to go in each case? I have tried piping batter, the teaspoon method, weighing individually and they all take so long. It is pretty much impossible to achieve a perfect batch of 12 without spending an absolute age getting there.
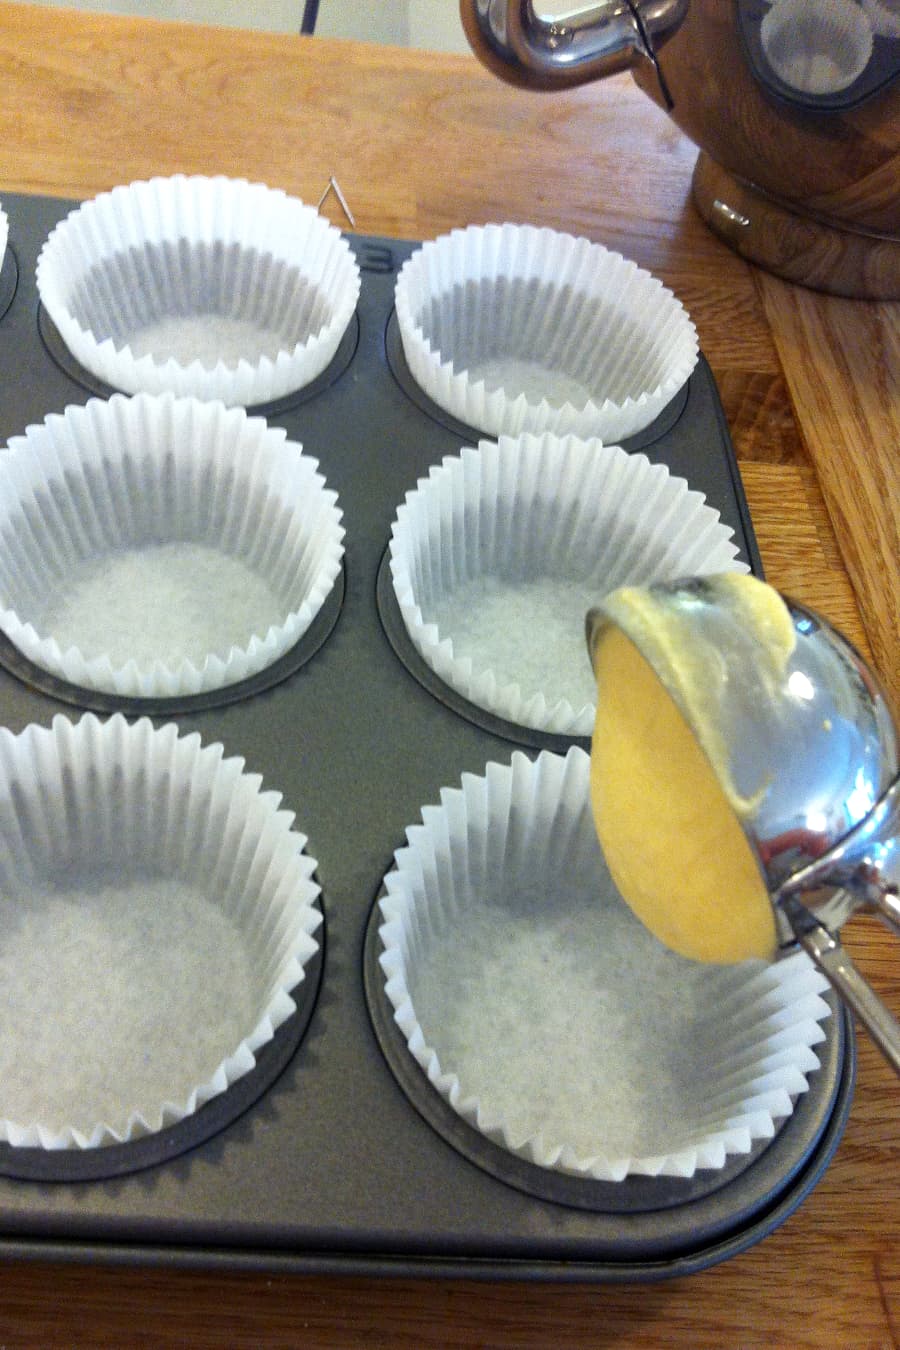
Scoop into your batter and scrape against the side of the bowl to ensure a flat scoop. Squeeze the handle and release in the centre of your cupcake case. Try not to get any bits of batter on the edge of the cases, this looks messy!
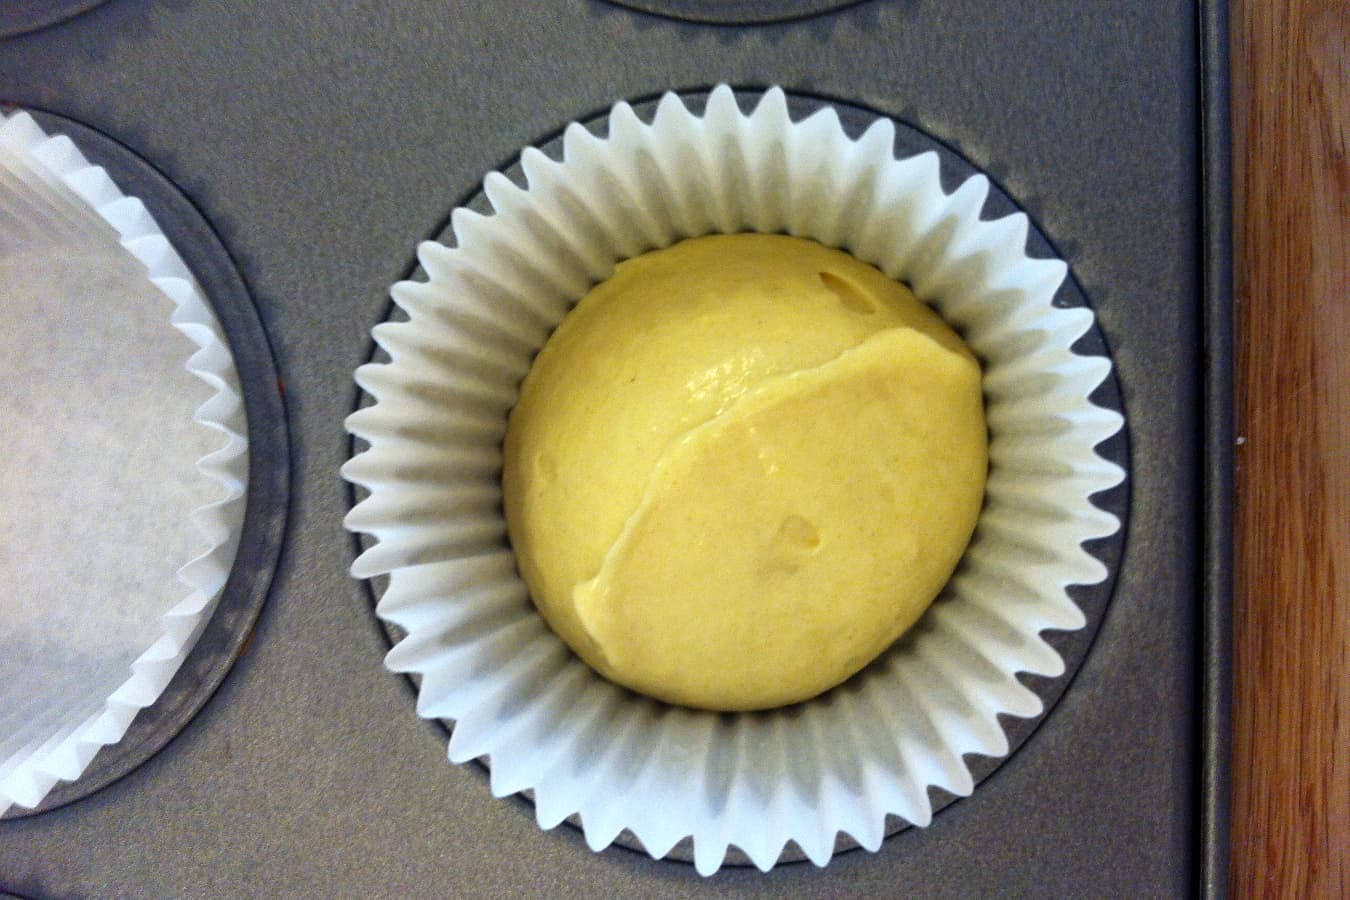
You should have the exact amount of batter for 12 cupcakes.
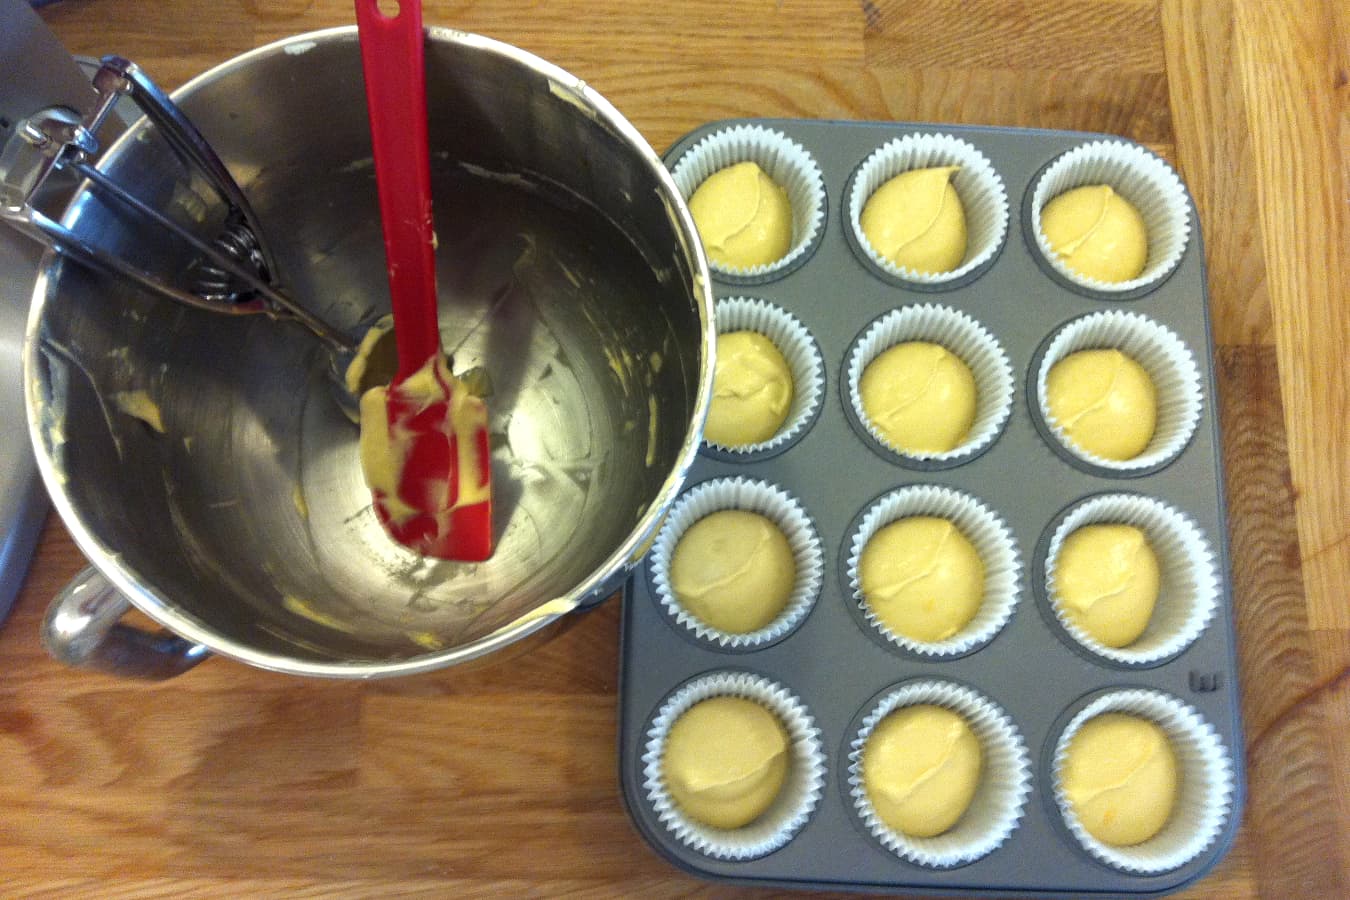
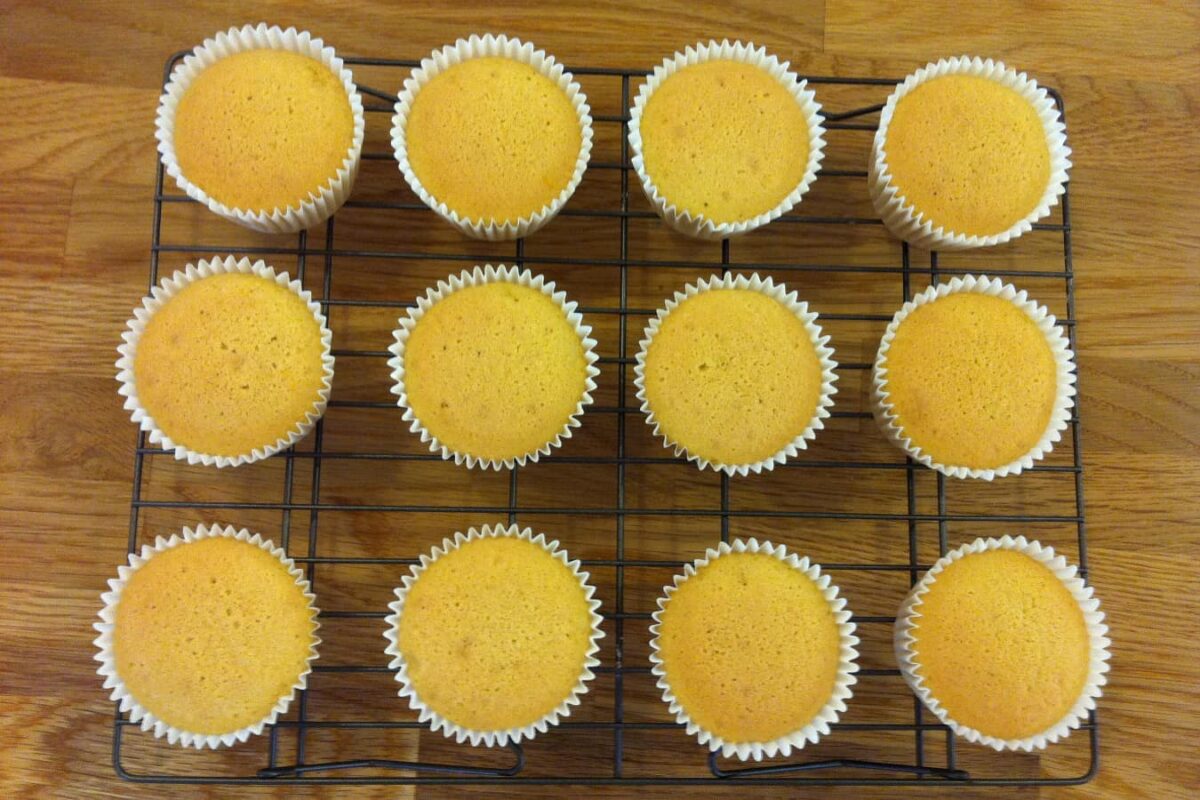
Once all scooped, places cakes in the oven at 150C fan for 20 minutes.
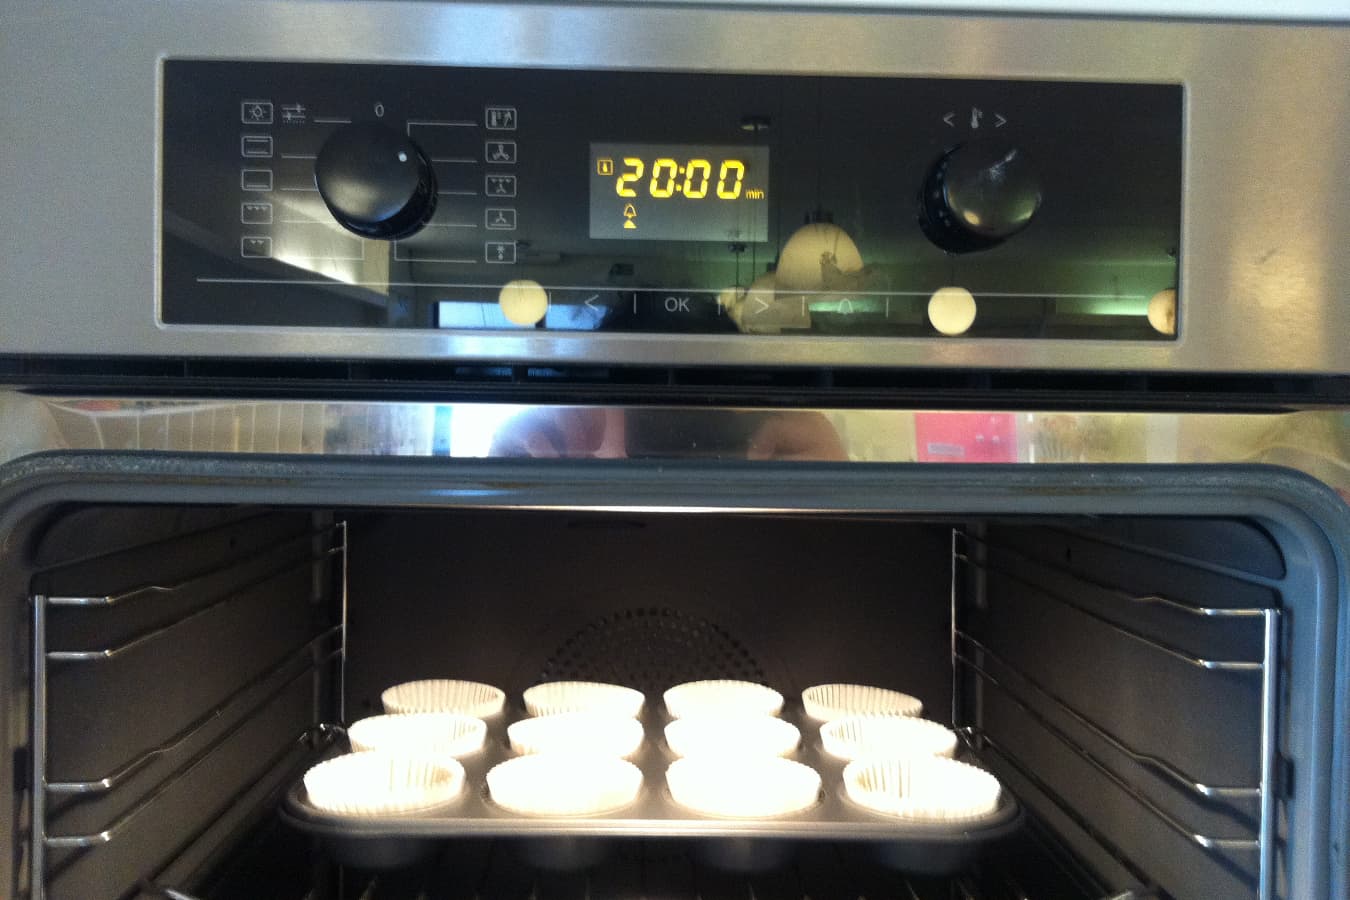

Your cakes should just be turning golden as you take them out, any darker and they are actually over baked. Transfer straight onto a cooling wire and there we have it! One perfect (if I do say so myself) batch of cupcakes! Delicious!
Natalie xx
